Welcome to the MC Sailing Association
The MC Sailing Association originally formed in Shreveport LA, 1971. Since then, the MC class has grown to be one of the top one-design sailboat racing classes in North America. The scow design maximizes speed yet provides unmatched stability. There are more than 113 active fleets nationwide. An original design by the Melges family in 1956, it is unique in the fact that you can sail single-handed or double-handed. Sailing solo is easy, taking a crew is fun! The MC class is not just about racing -- it has also been described by many people outside of the class as a very enjoyable and fun group to spend a weekend with!
Please look around and explore the activities taking place at a nearby lake (over 115 fleets can be found here:
(MC Active Fleet Finder) and see why we're so enthusiastic about this one-design racing sailboat.

MCSA National Championship
August 21-24, 2024
 Andy Burdick (262) 275-1110
 Quantum Sails Zenda
Quantum Sails Team:
Harry Melges
Andy Burdick
Eddie Cox
Ted Keller-Ohio Agent
(262) 275-1110

UK Sailmakers-Chicago
Mike Considine
(312) 326-1053

Draheim Performance Sails
Bill Draheim
(972) 998-5313
Dan Fink
(414) 344-8765

North Sails
Allan Terhune
O:(410) 269-5662
M:(732) 644-1051
Eric Doyle
(949) 228-7185

(800) 800-6050
 Evolution Sails
Greg Fisher
(410) 212-4916
“HISTORY OF THE SCOW” Film Proposal
Woody Woodruff has been sailing scows a long time and is using his talents as a film producer to make a documentary film on scows: The Project Donate Here
MC BOOK
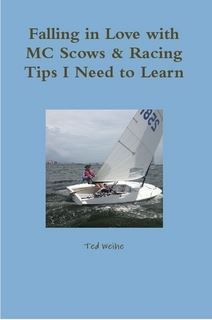 MCSA Member Ted Weihe created a MC book for purchase. Ted is contributing all royalties to the class!! ( $3 of $20 book cost) - Thank you Ted.: To purchase book, go here: MC BOOK
Falling in Love with the MC Scow is a primer on racing the MC from a new comer to the class with a lifetime of sailing experience. Much of information is based on Zenda U. on-the-water training by the Melges Team and by MC champions. It is infused with personal recollections by the author.
© MC Sailing Association, Inc. 2024. All Rights Reserved.